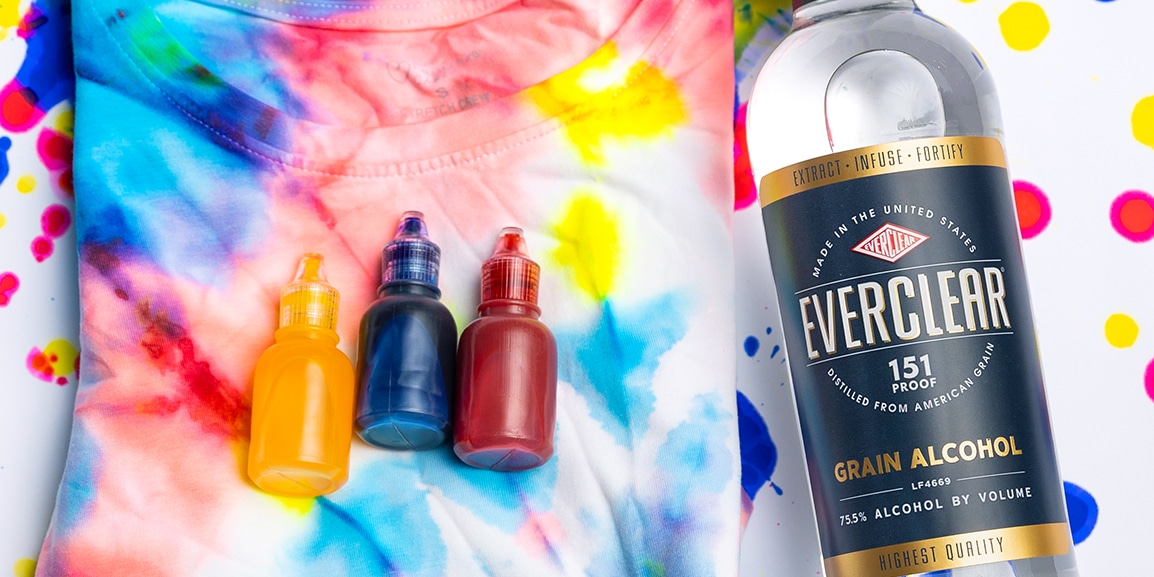
DIY EVERCLEAR Tie Dye
Make far out tie-dye kits with bright, long-lasting colors thanks to EVERCLEAR<sup>®</sup>. EVERCLEAR helps set the dye and ensures that colors stay vivid, wash after wash.
Ingredients:
- White T-Shirt
- 1 Bottle EVERCLEAR® Grain Alcohol
- Everclear Alcohol Inks
- Eyedropper Bottle
- Rubber Bands
- Plastic Gloves
- Newspaper & Plastic Bag
- Fork (optional)
Instructions:
- First, place the fork (or your fingers) in the center of the shirt and twist it into a spiral. Gather the spiral into a bundle and secure it together with 4 rubber bands. Put two rubber bands in a cross formation and the other two in an “X” formation to create 8 triangular sections.
- Once the shirt is bundled, cover your working surface with newspaper and a plastic bag to prevent ink spills. Place the shirt on top of the plastic bag and pick out three alcohol ink colors to dye the shirt.
- Start by coating three triangular sections with alcohol ink, leaving one blank section between the three colors. Then go back in and coat the blank sections with the same color that is directly opposite of that section. (ex: red across from red, blue across from blue, yellow across from yellow).
- Flip the shirt over carefully and repeat step three on the back side of the shirt.
- Once the shirt is completely dyed, use an eyedropper bottle full of EVERCLEAR 190 proof to coat the front and back of the shirt. Soaking the shirt with EVERCLEAR helps set the ink.
- Let the shirt dry for 24 hours.
- Once dry, rinse the shirt bundle in cold water to remove excess dye. Then, carefully remove the rubber bands and unravel the T-shirt to reveal the spiral tye dye pattern. Wash the shirt with a small amount of laundry detergent, then air dry. The shirt is now ready to wear!
Please Create Responsibly.

